A beginner’s guide to breaking out of simple Display campaigns and exploring Gmail ads.
Google offers a vast variety of campaign types and is continuously developing new features for advertisers to use. Sometimes it can be overwhelming deciding which campaigns and placements are right for your business, especially when considering budgets and creative asset limitations.
Google Search is a clear staple of the digital marketing game. Without a doubt, Search should always be part of your digital marketing strategy, regardless of budget size. However, if you have a greater budget and the ability to create captivating imagery for display campaigns, your horizons are broadened tenfold. With this, you have the ability to expand into Display, Gmail, Discovery, and Shopping campaigns – not to mention social.
Today, I will look at one of the lesser utilized channels for marketing – Gmail campaigns. I will walk through the Gmail campaign set up and provide tips on how to use the various targeting options that Gmail offers for your company to break into the email scene.
Ad Specs
Before you even begin building your Gmail campaign, you need to ensure you have adequate imagery to use in your ads. Gmail ads specs are similar to all those needed in all GDN campaigns:
- Logo Image: Min. size 144px x 144px with a max. size of 150KB – aspect ratio 1:1
- Marketing Image: Min. size 300px x 300px and aspect ratio of 1:1
- File Formats: JPEG, JPG, PNG, GIF (non-animated)
Images for Gmail ads can contain text, though this should be limited, as Headlines and Descriptions will be used.
Campaign Build
Once you’ve established the images you want to use for your Gmail ads, now it is time to build your campaign. To get started, go to the Campaigns tab of your Google Ads Account. Once there, find the Blue “+” button to start a new campaign.

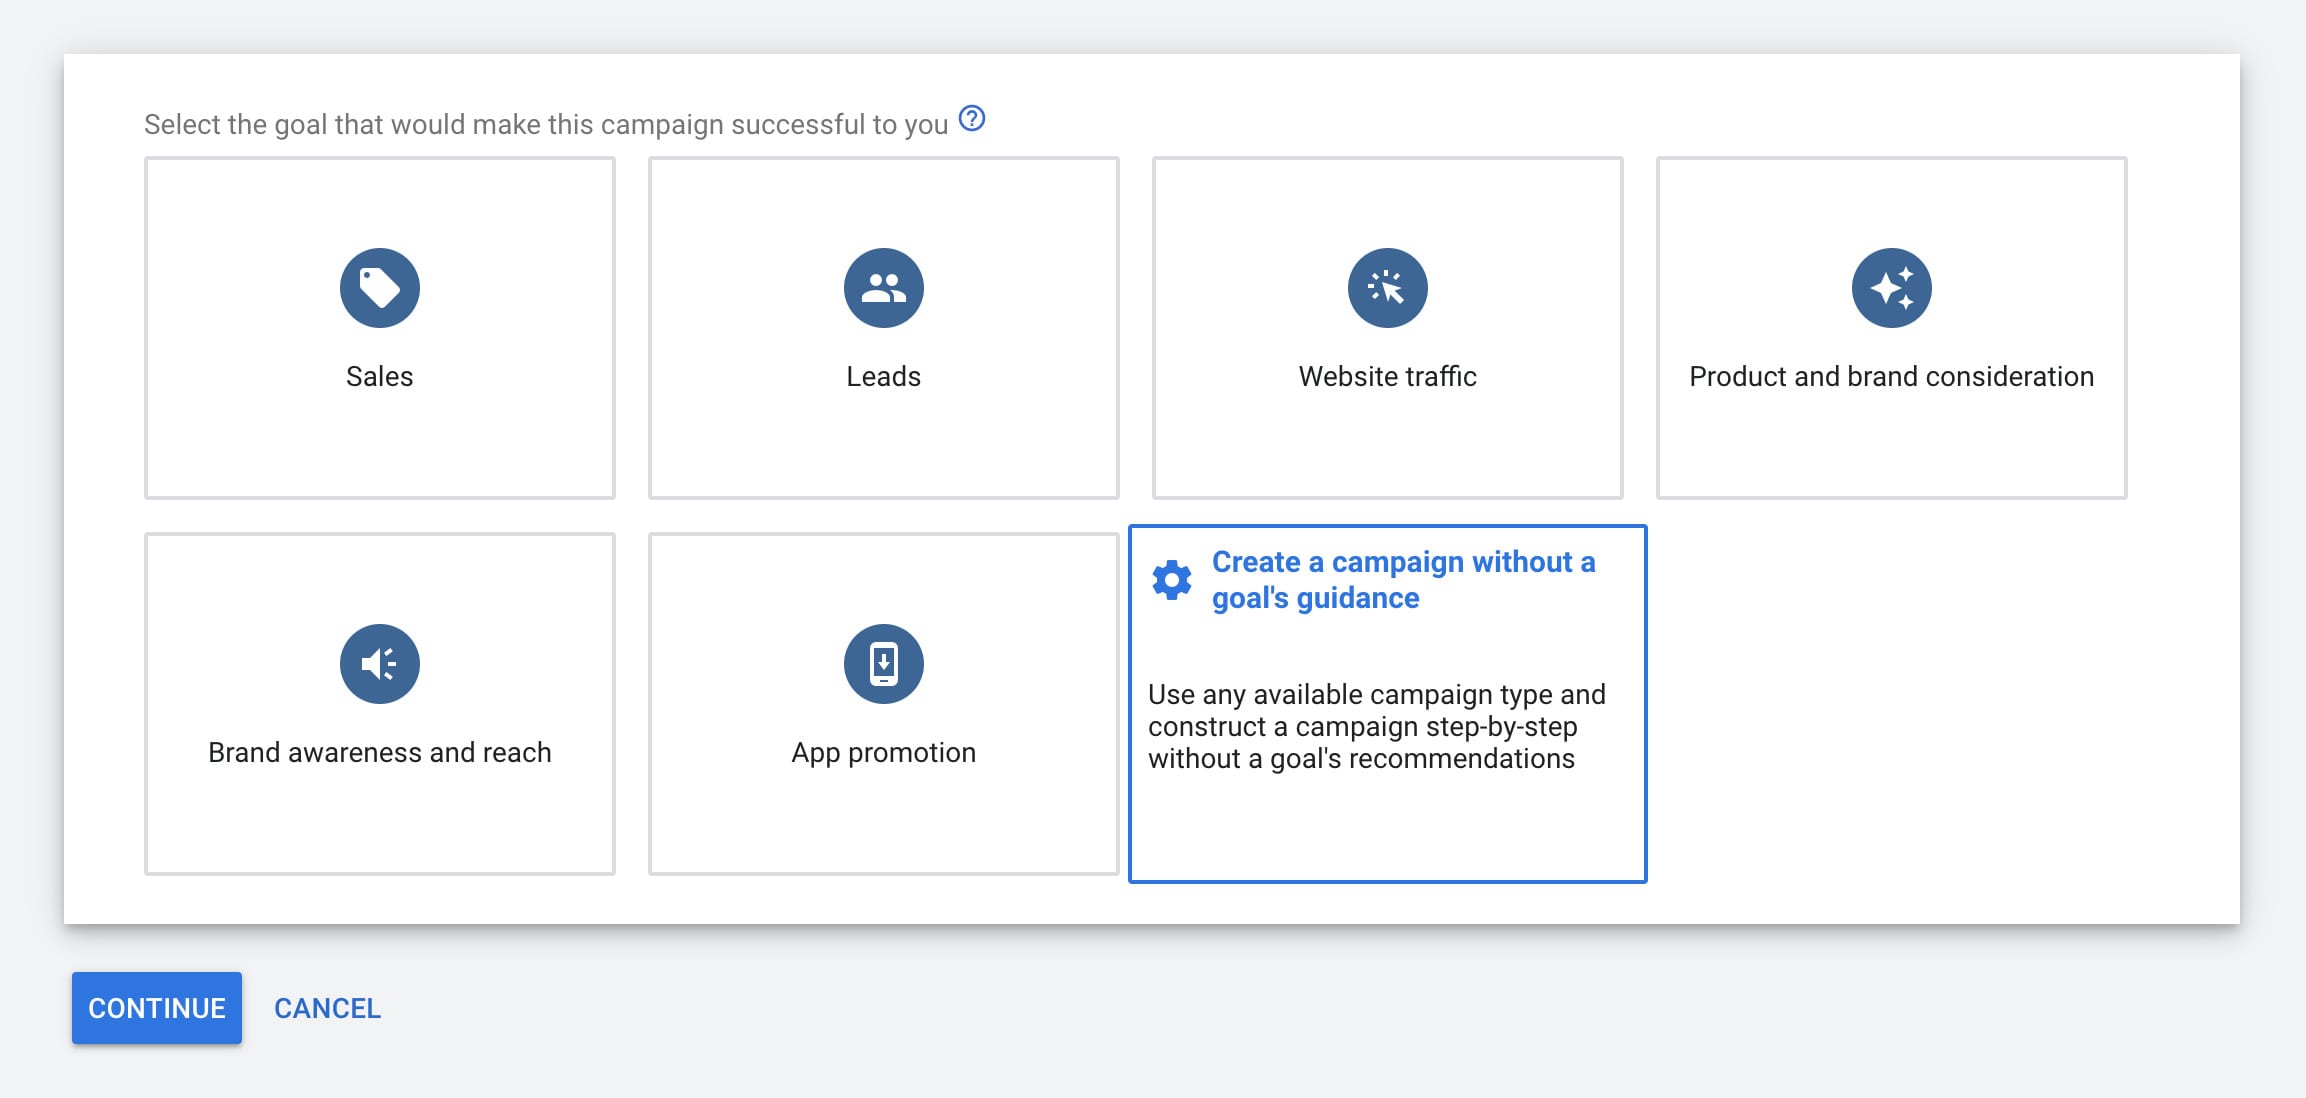
At this point, you will be presented with a list of goals you would like to achieve with your new campaign. Based on your selection, Google will suggest various campaign types to use. However, because I know I want to run Gmail ads, I am going to select “Create a campaign without a goal’s guidance.”
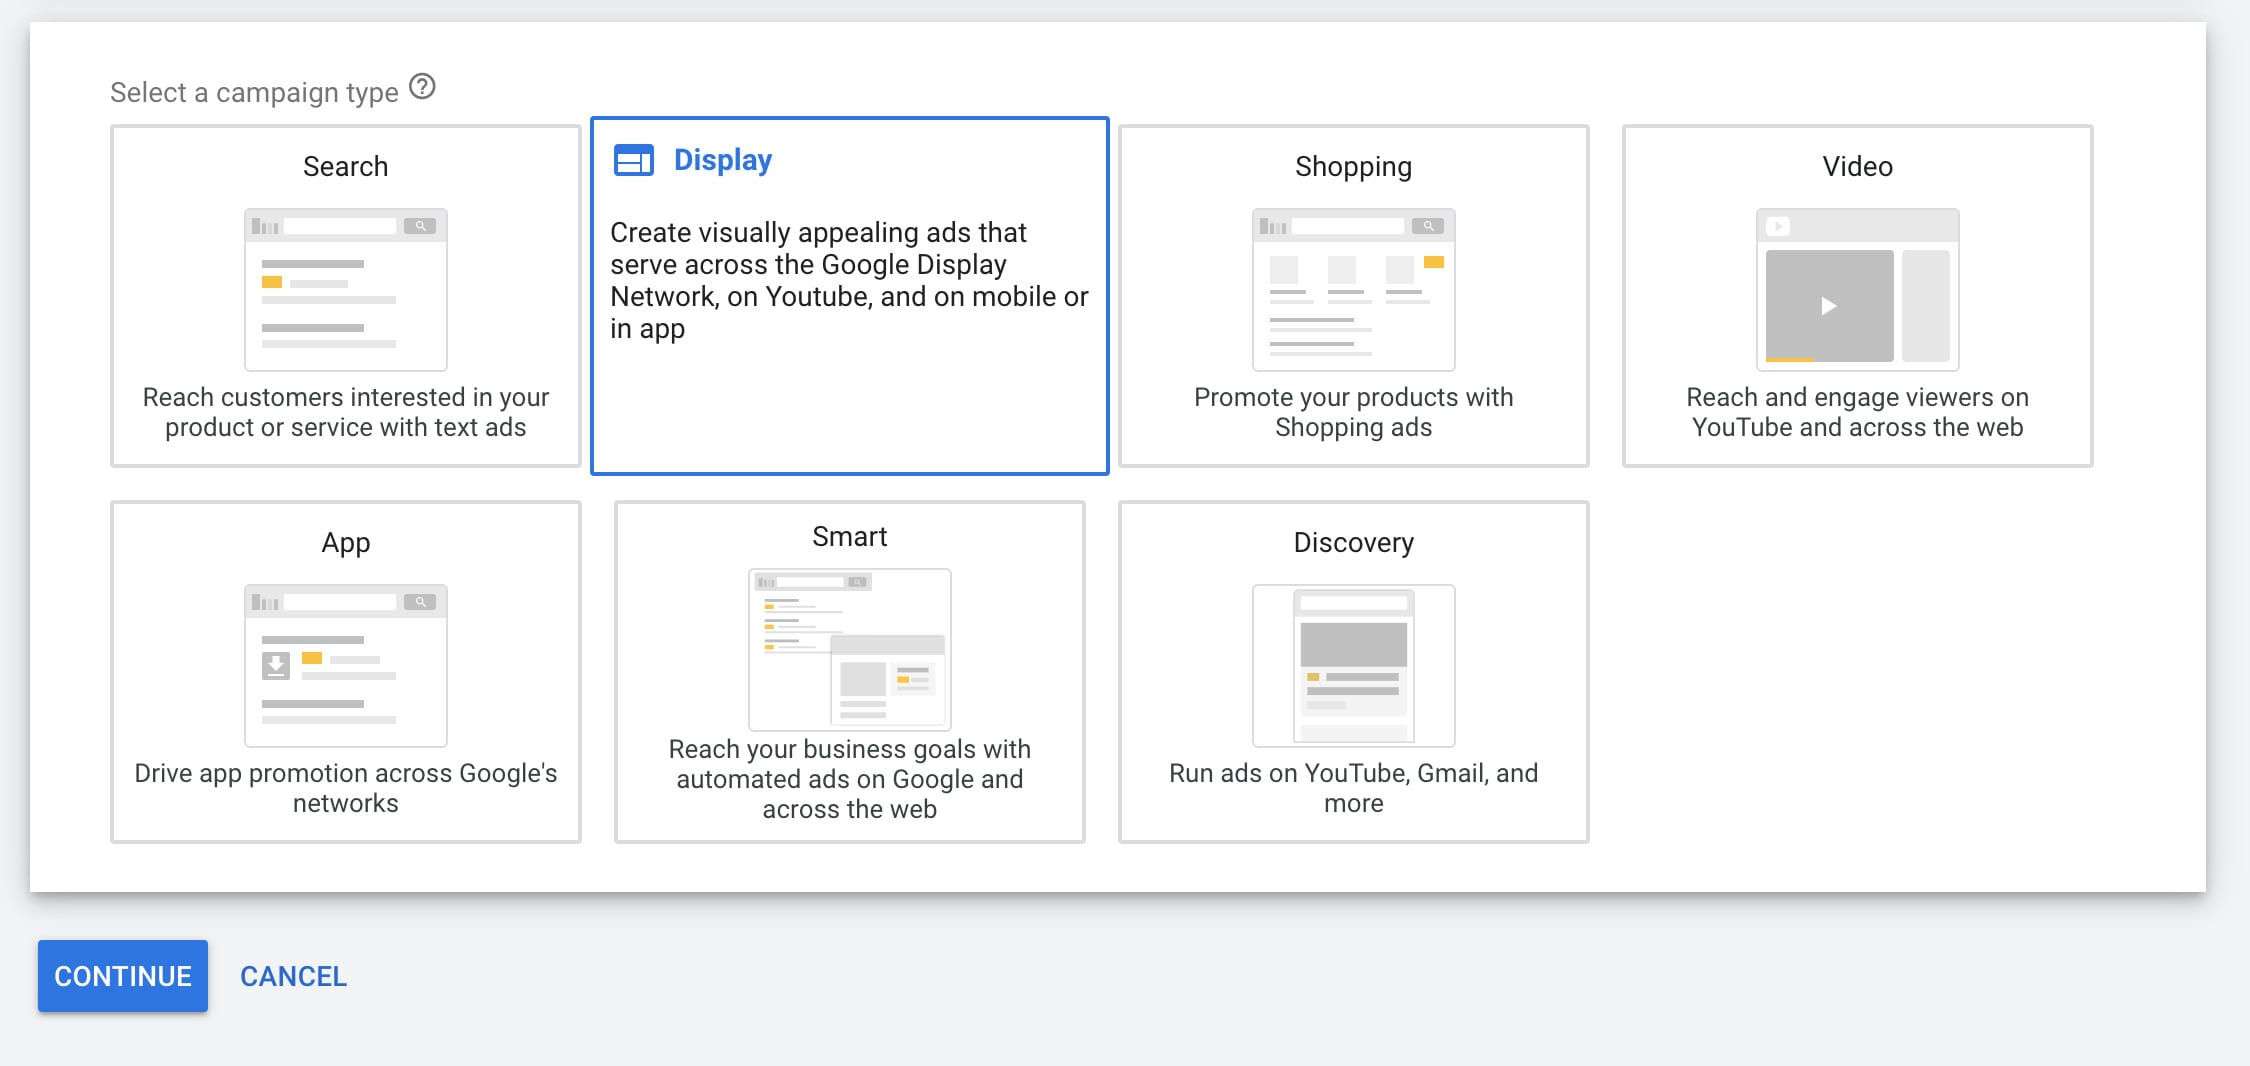
Next, you will be shown the list of possible campaigns to run within the Google Ads platform. Gmail ads fall into the Google Display Network, so we will select Display campaigns.
There are several types of Display campaigns we are able to run from this selection. However, we will select “Gmail Campaign.”

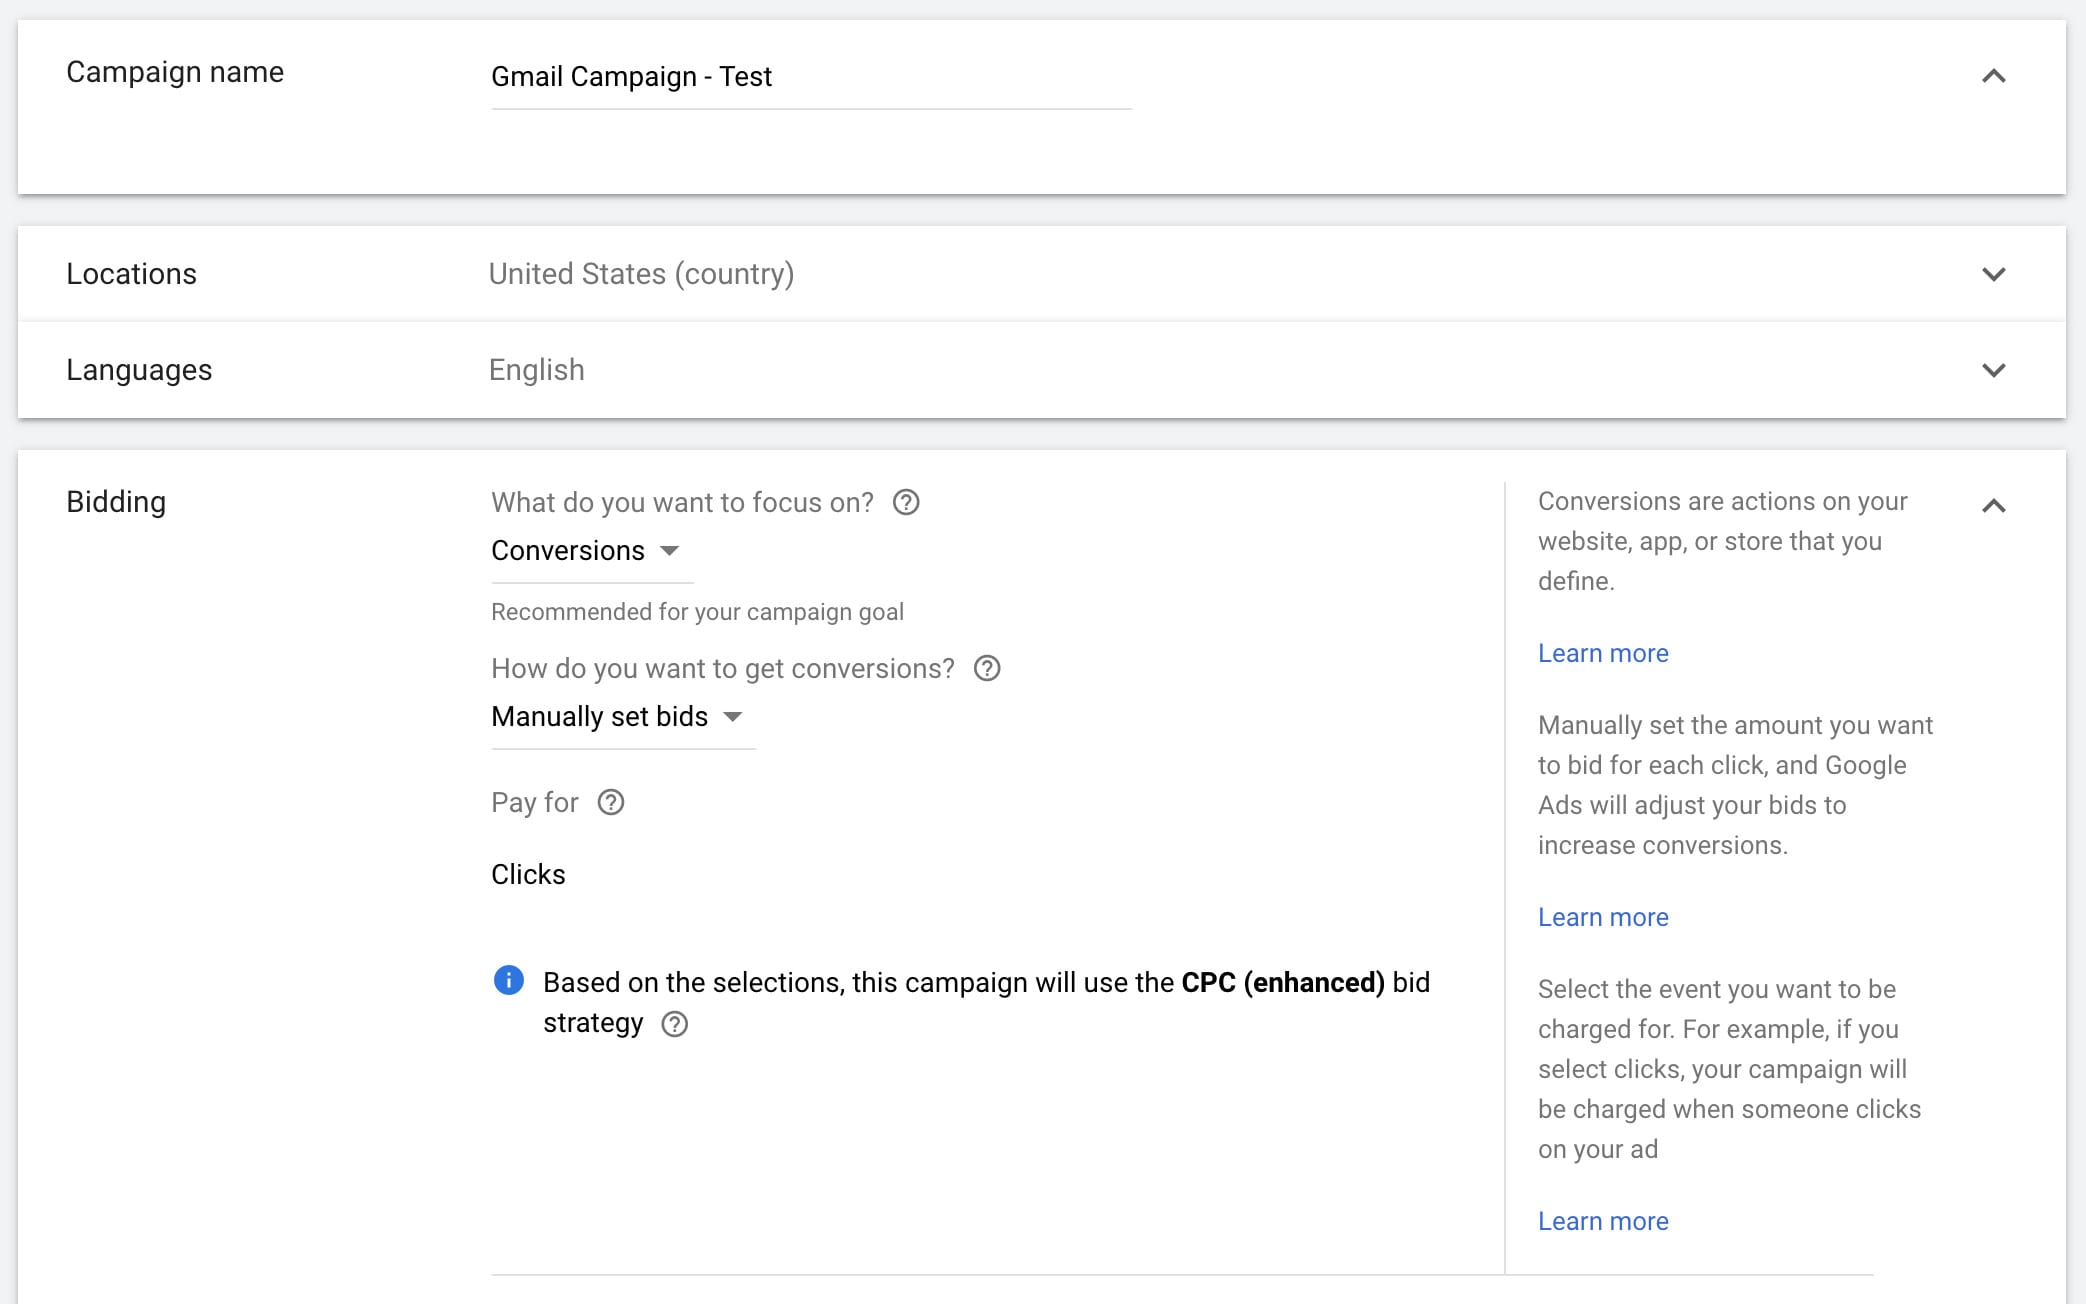
At this point, we are ready to build. At first glance, the setup looks very similar to your Display and Search campaign builds. Google makes this process easy for even the newest of marketers by walking us through step-by-step. Here you will go through the basic settings for naming, location targets, language targets, and bidding.
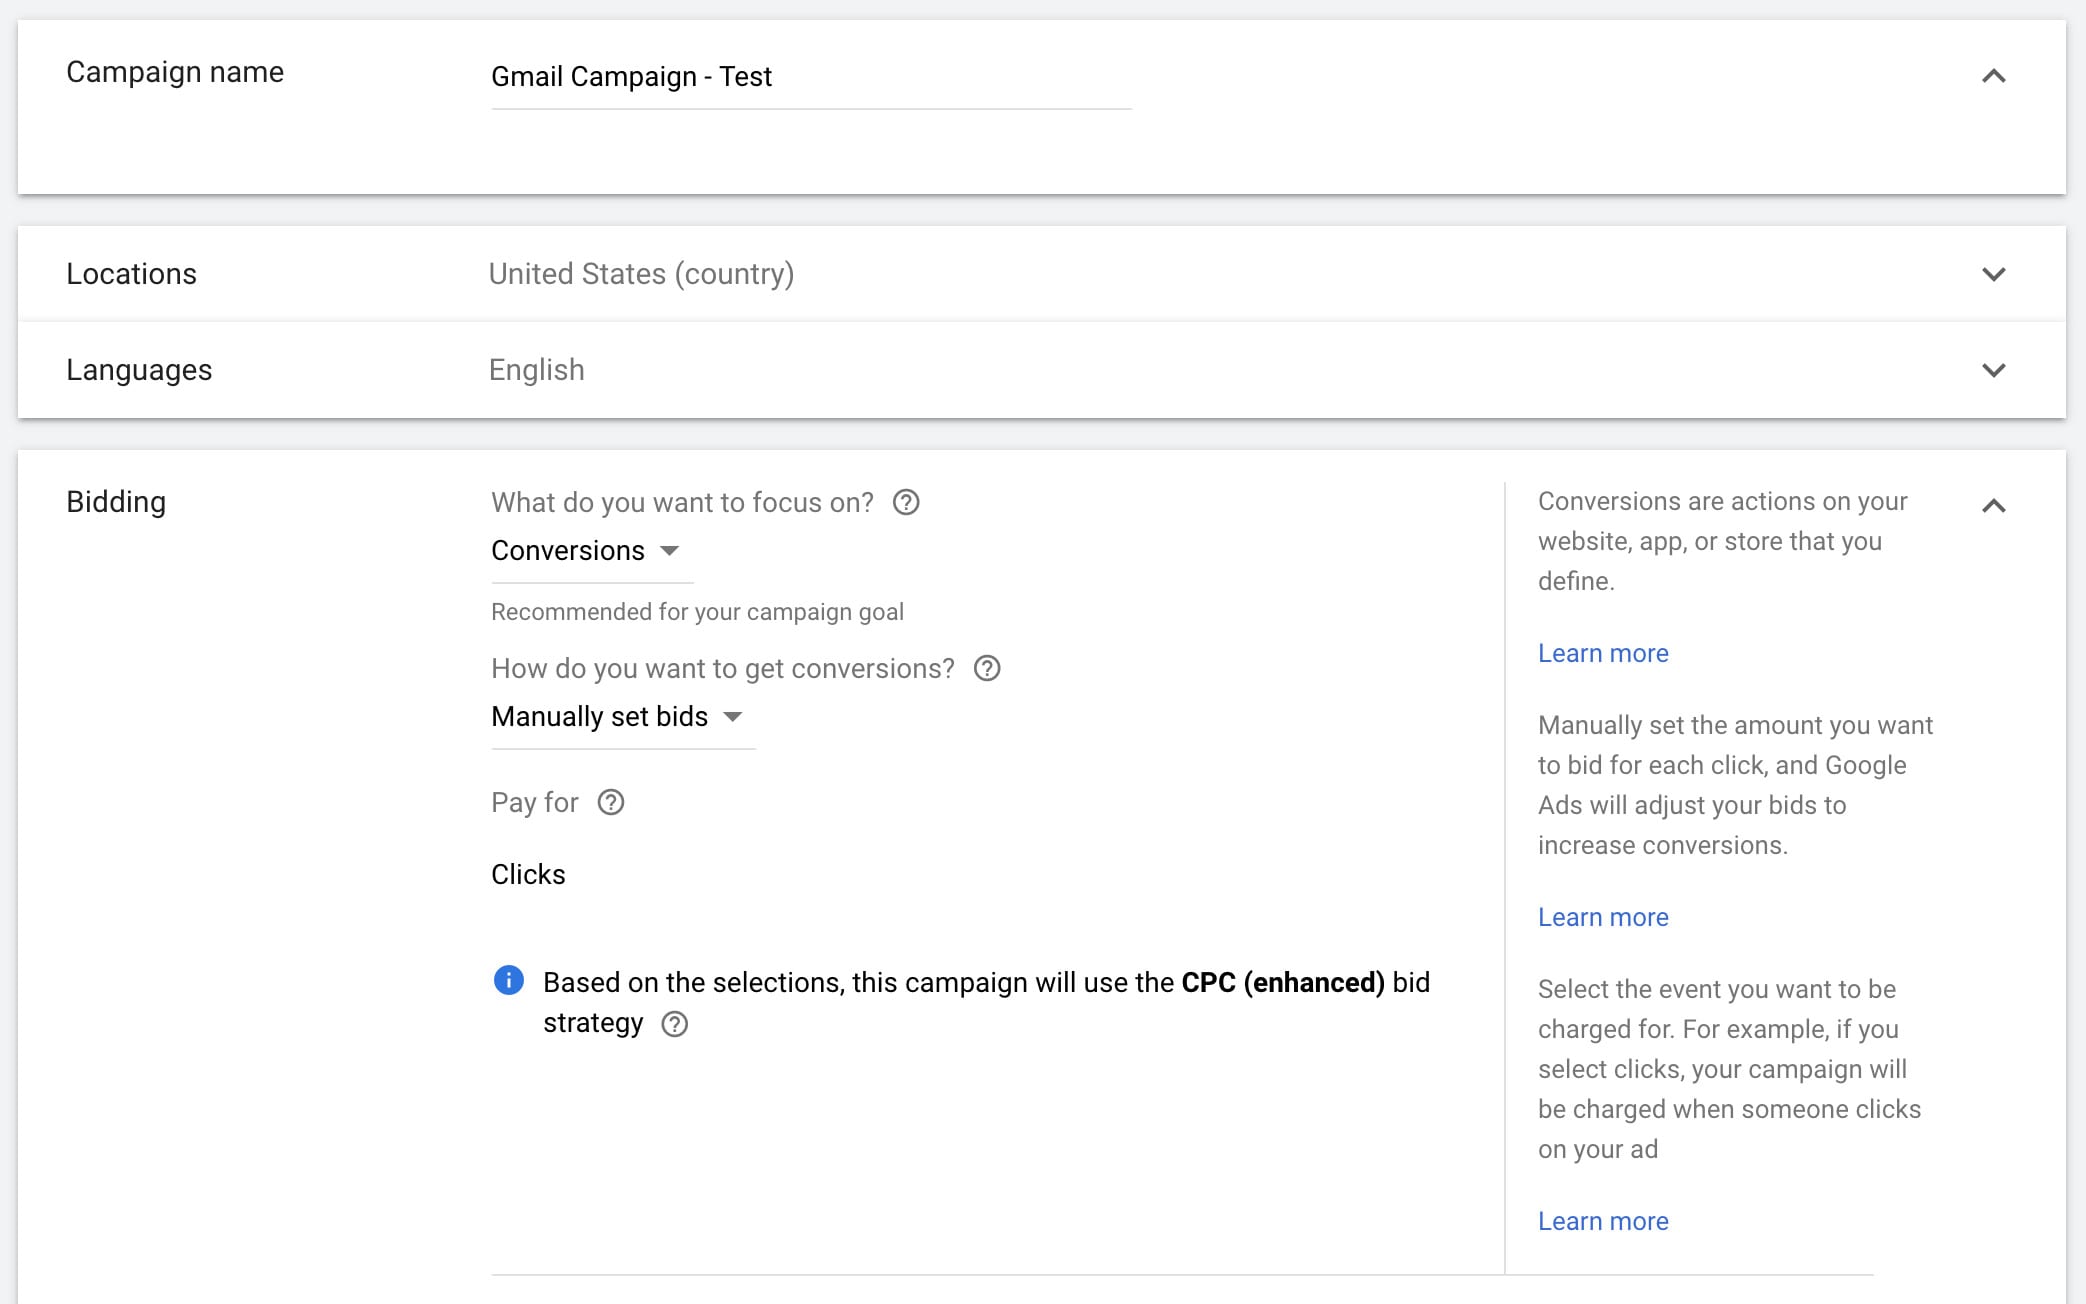
From there you are able to adjust more advanced setting options such as ad rotation, time of day you would like your ads to run, start and end dates, and device targeting.
Targeting Options
Google offers 3 types of targeting options for Gmail Ads: Keywords, Audience, and Demographic. To best determine the performance of these targeting types, create different ad groups of each targeting type you want to utilize.
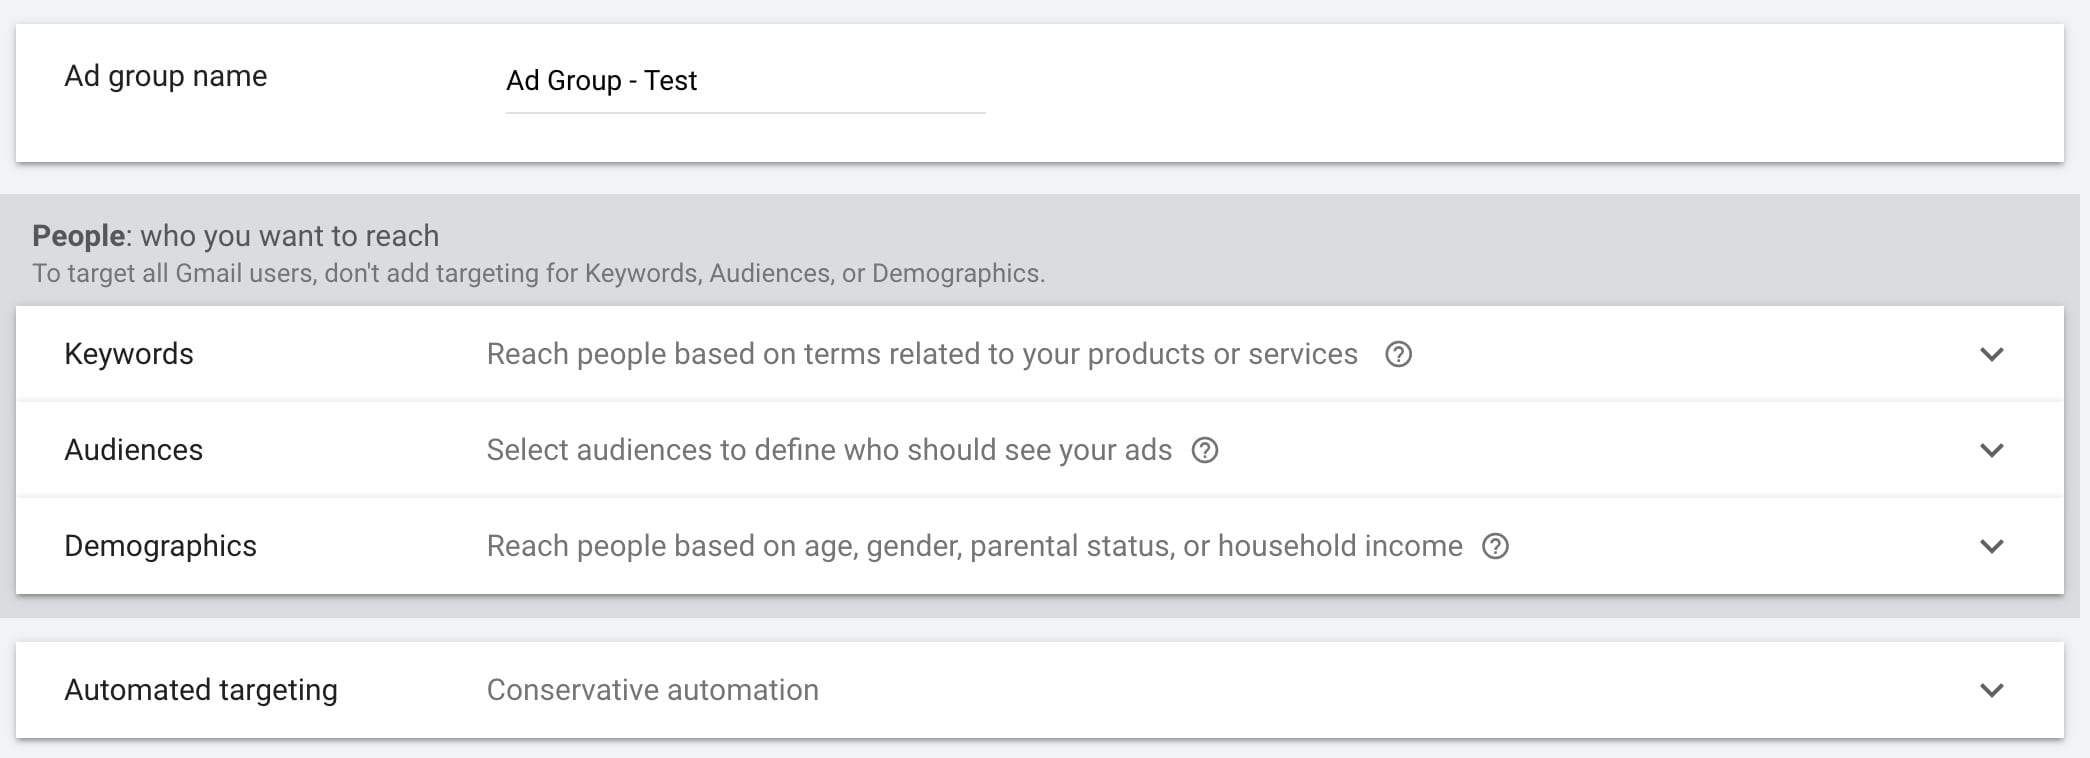
Keywords
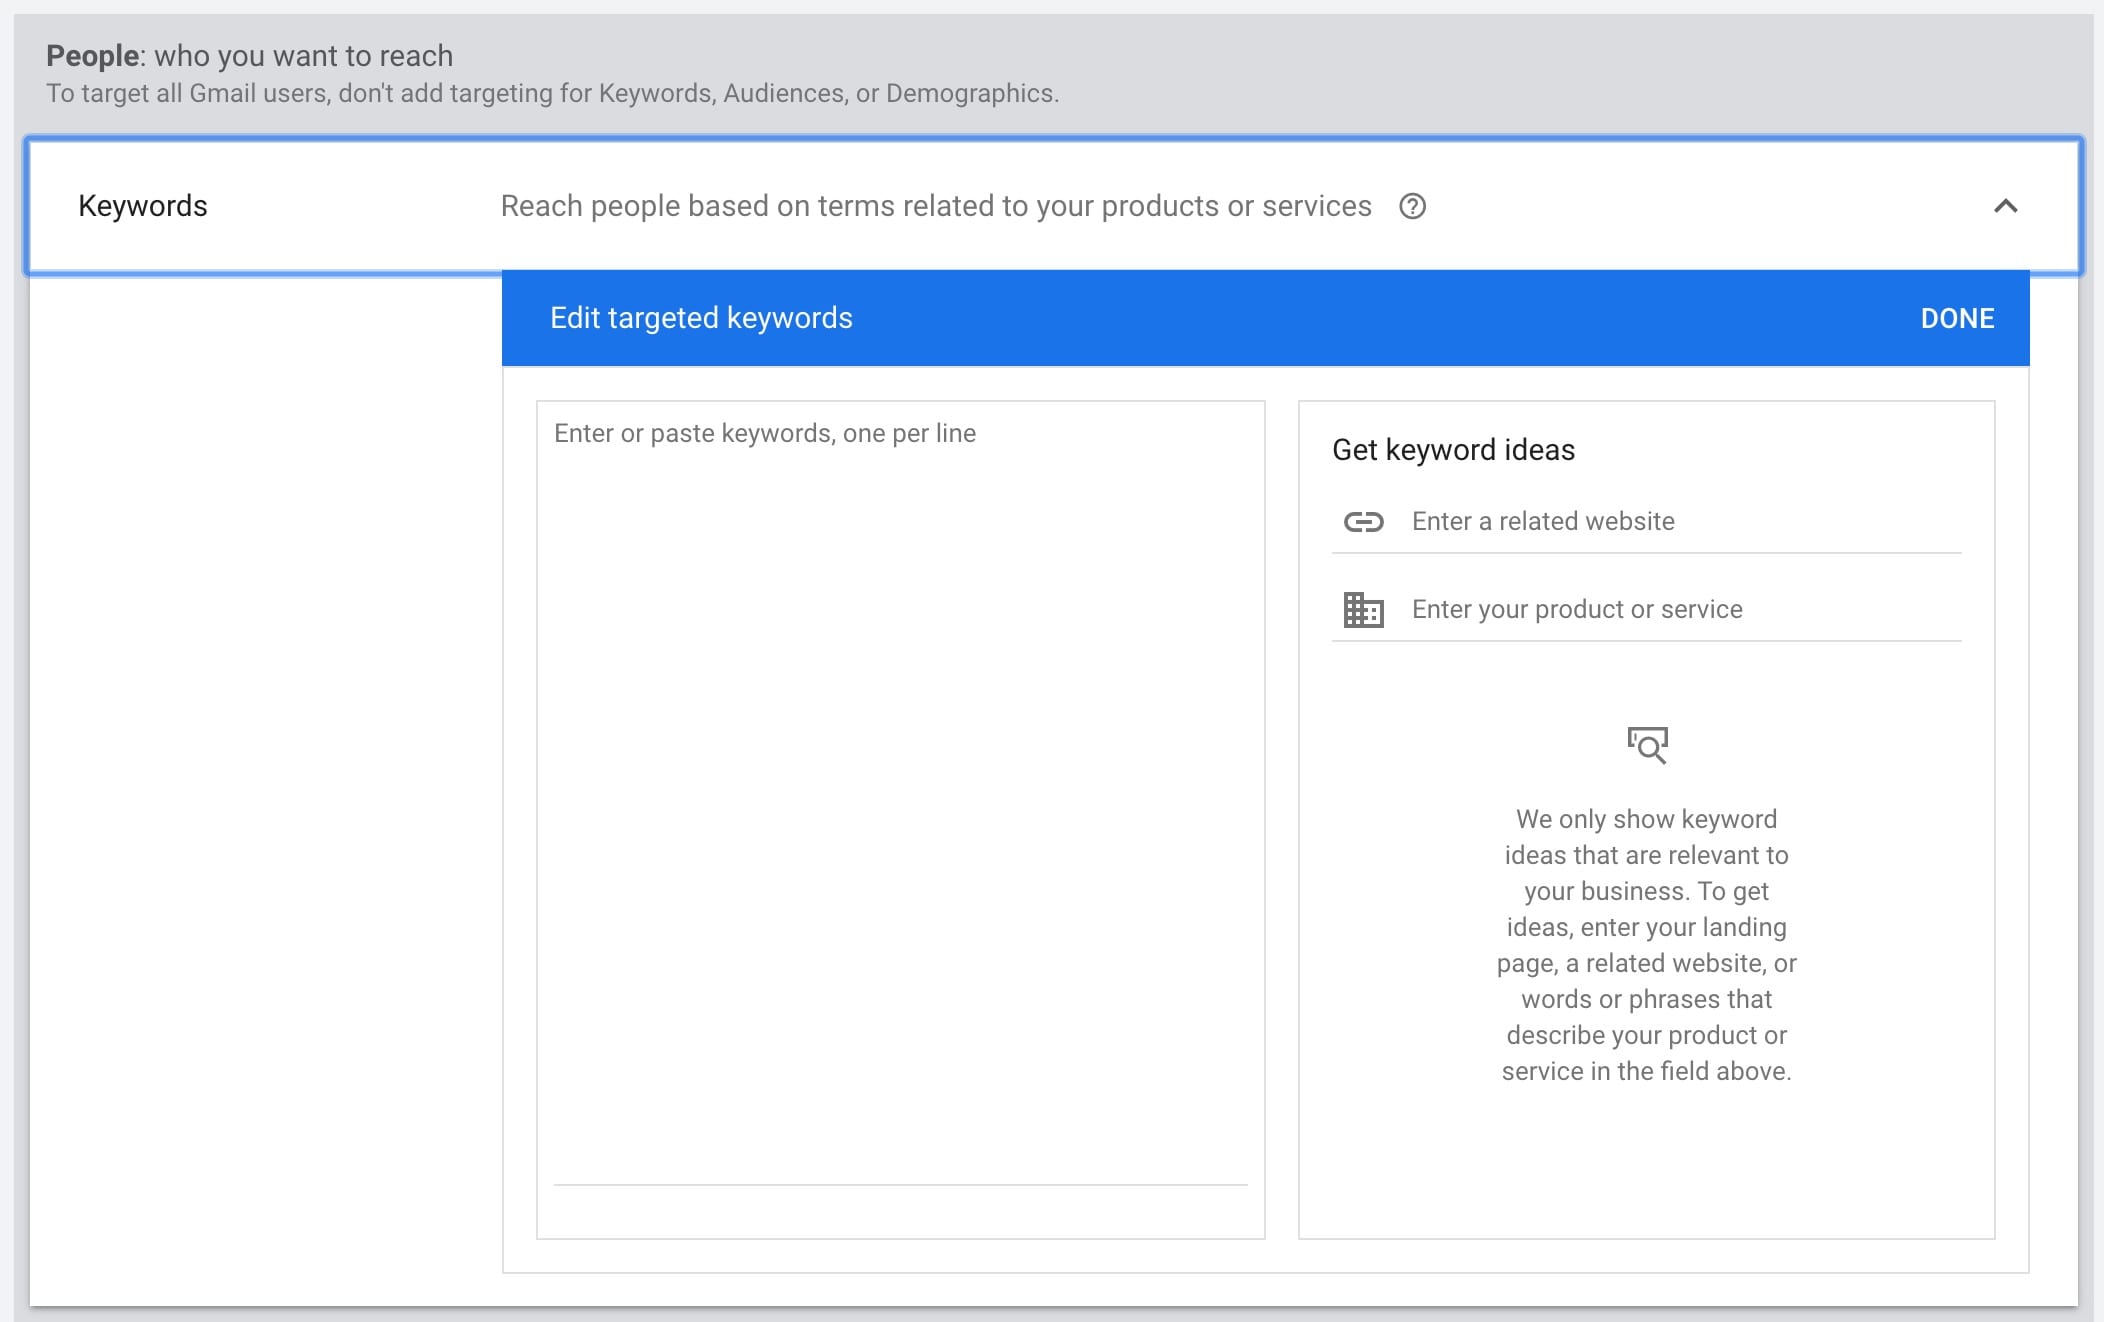
By providing a list of keywords, Google will target individuals who are interested in those terms. This means anyone who has previously searched for those phrases in Google or YouTube will be targeted in their Gmail inbox.
Keyword targeting is great for lower-funnel Gmail targeting. By targeting your branded keywords, product terms, or even competitors, you will reach individuals who are researching similar items and have a higher intent to purchase.
Audience Targeting
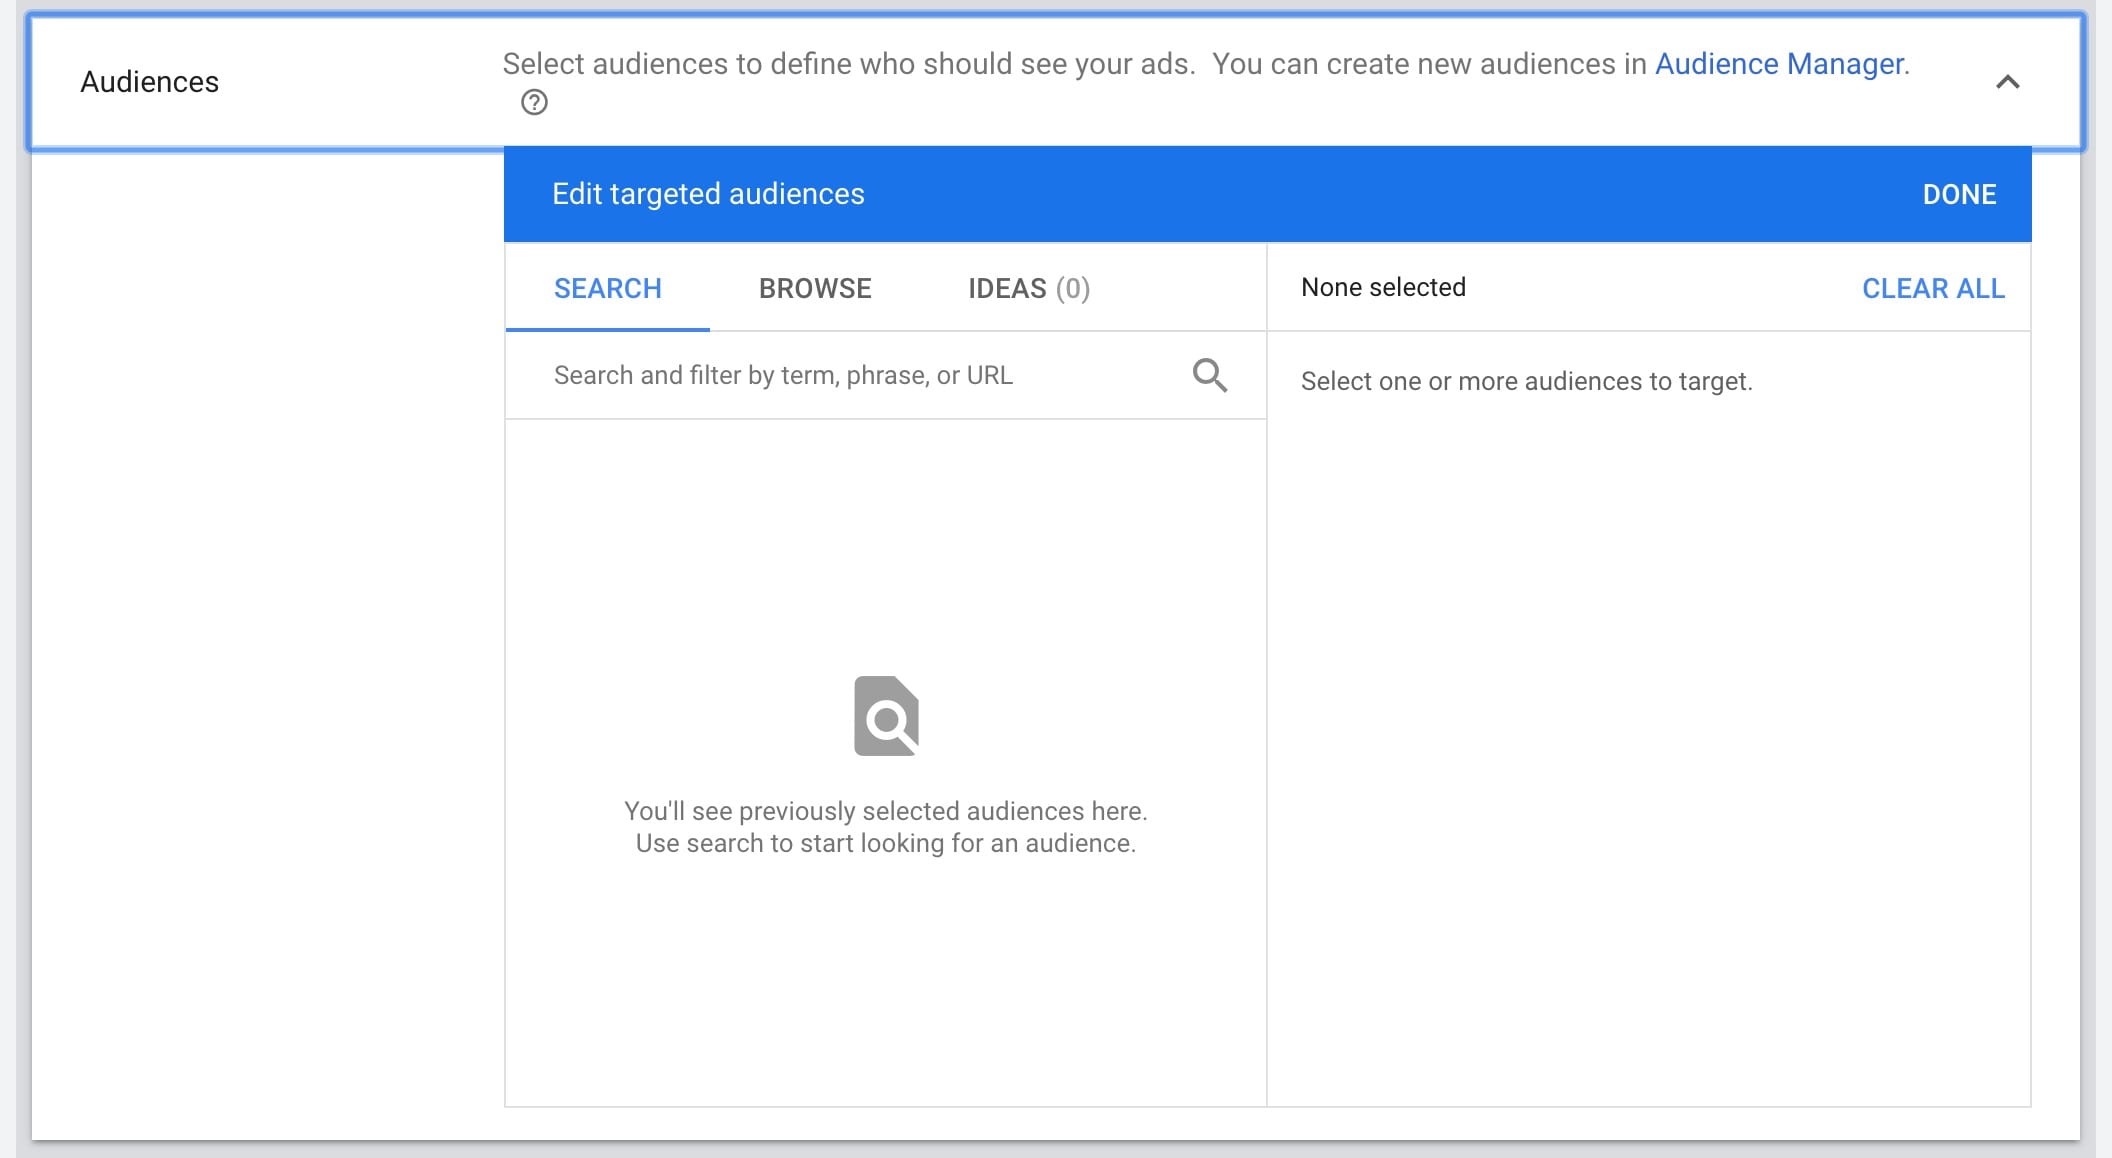
With audience targeting, you have the option to add the same audiences that are available in Display and Search. These fall into 3 major categories: Affinity Audiences, In-Market Audiences, and Remarketing Audiences.
Gmail campaigns are a great place to utilize remarketing strategies. By targeting individuals that have already visited your website and viewed your product, you can create a sense of urgency and entice them to purchase by providing exclusive offers directly to their inbox. Nothing is more likely to drive a customer to purchase an item they have been considering than a 20% off promo code!
Demographic Targeting
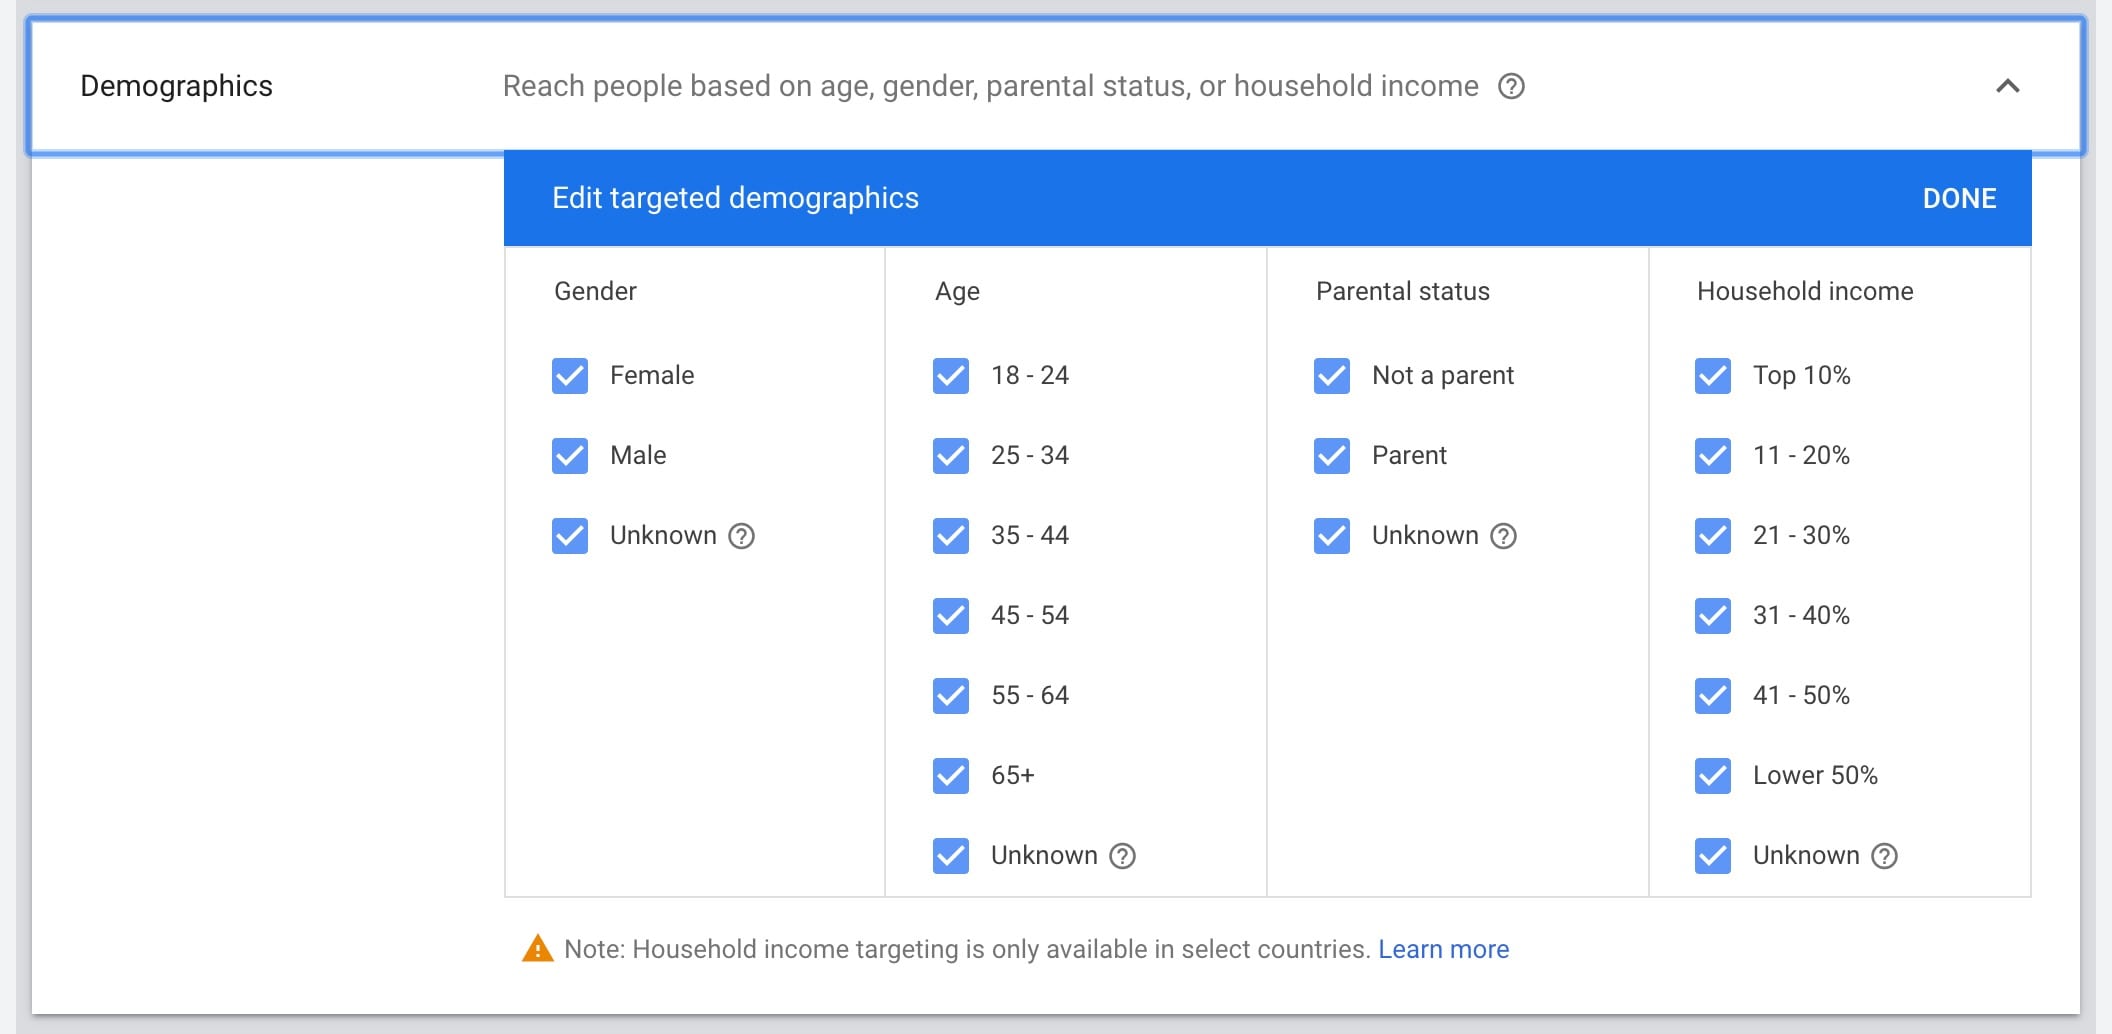
Demographic targeting is another layer of targeting that can be added to your strategy. Just like all other campaign types, you have the options for Gender, Age Range, Parental Status, and Household income.
Demographic targeting is great in refining your best-performing audiences when you already know who your most likely to convert user is. However, if you don’t know this, restricting demographic targeting may limit your conversion volume and cause you to lose out on some high-performing groups. Before refining your Gmail targeting by demographics, run your campaigns for a few weeks and analyze your historical converter demographic data – this will provide insight on where to start trimming the fat.
Automated Targeting
Google loves automation, so it’s no surprise that Gmail offers expanded automated targeting utilizing Google’s internal algorithms. For Gmail ads, you have three options: no automation, conservative automation, and aggressive automation. By turning on automation, you give Google the green light to go out and find new customers outside of the specific targets you have just set by expanding placements in the Google Display Network, outside of Gmail. This is a good option for companies trying to reach new groups of people or gather enough data to determine their best-performing audiences.
Conservative automation and aggressive automation is simply how much you want Google to widen your current settings. In conservative targeting, Google will seek out users similar to those you are targeting in Gmail, only on other websites. With aggressive automation, Google will open to the flood gates on targeting and go after anyone they believe is likely to convert at your desired CPA.

Ads
Now that your targeting has all been set. You are ready to build your ad! This is a very similar process to your typical Responsive Display Ad builds, but for these ads, you only need to input 1 Headline of 25 characters and 1 Description of 90 characters, along with your business name and desired landing page. With this, Google will show you previews for both mobile and desktop formats.
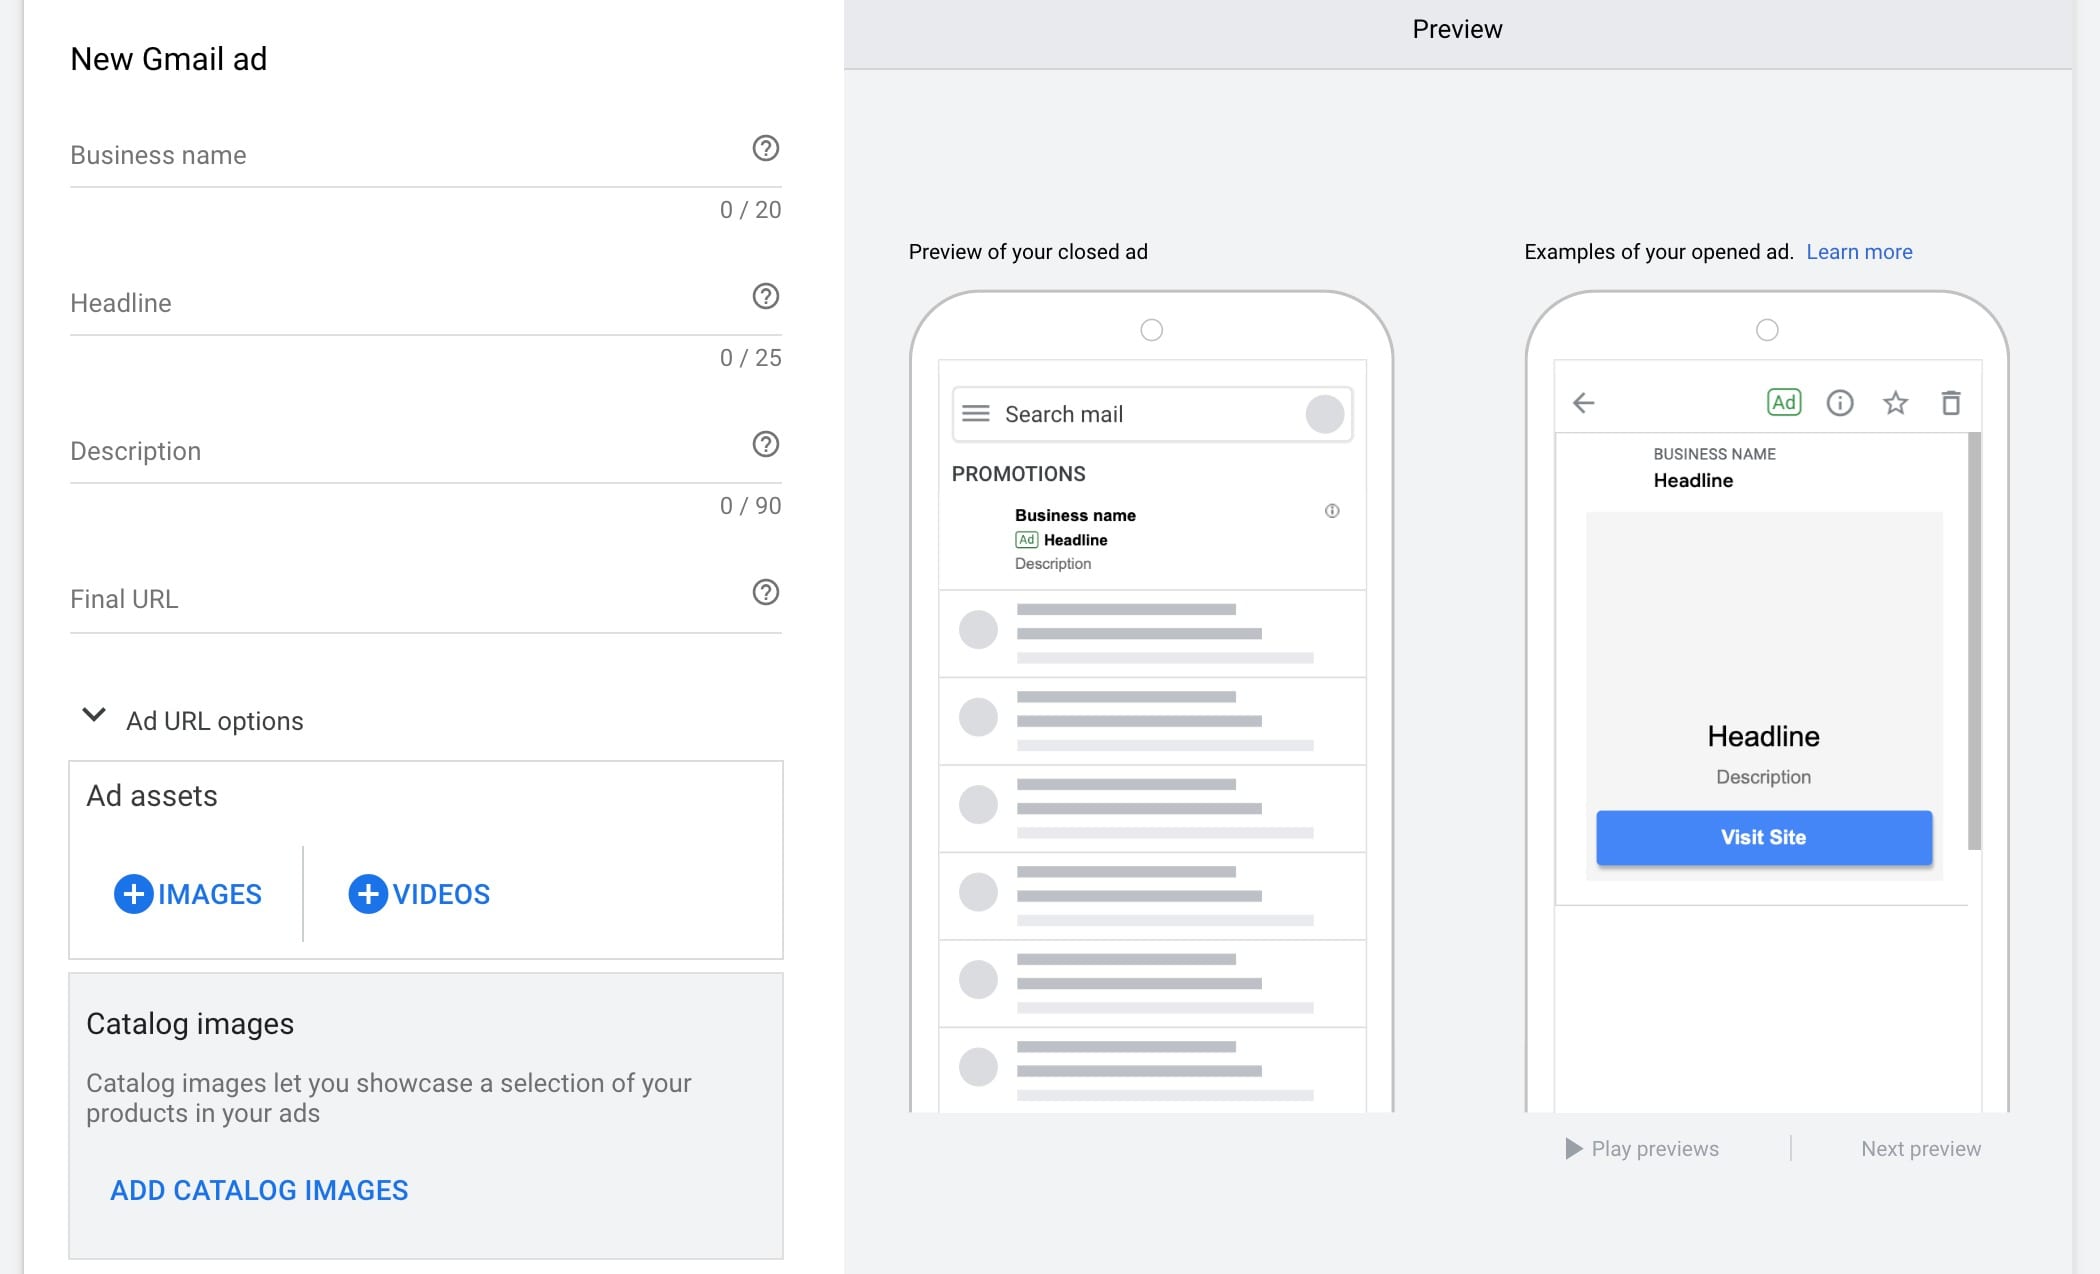
Once your ad is built, you are ready to go! From here, just click “Create Campaign” and your ads will be sent for approval and launched.
Google’s Display Network and its various types of campaigns do not have to be difficult to navigate, typically they operate in much the same way. So if you know the basics and settings of one, you can easily find your way through another. To find out more about GDN campaigns and how to optimize them, check out Aaron Child’s Guide to Smart Display Campaigns.


